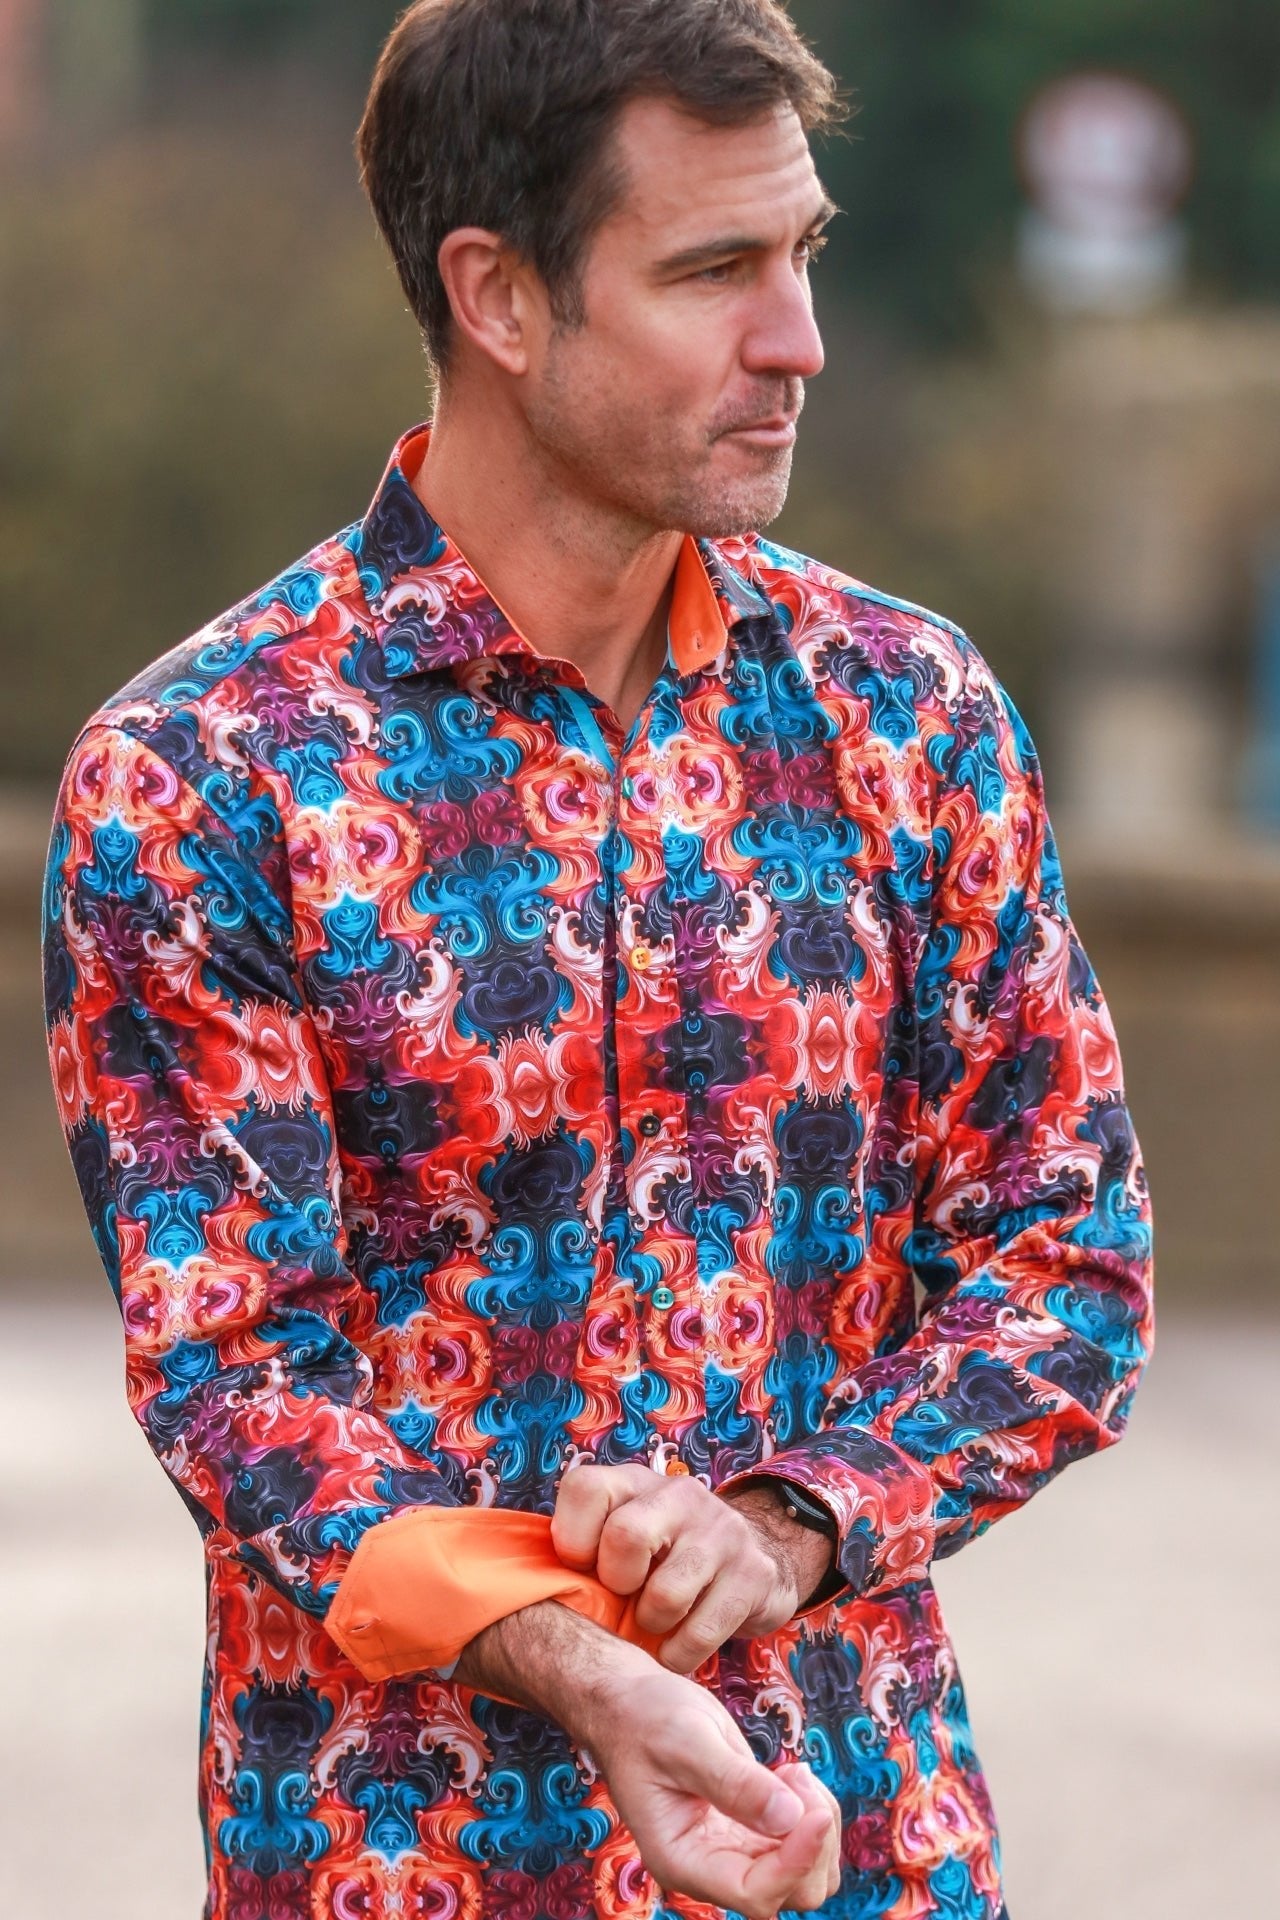
Check the whole garment before ironing
Set the iron from the garment’s care label, including its steam restrictions. Fibre names alone are not enough: finishes, contrast panels and trims can change what the shirt tolerates.
- Empty the iron’s dirty water and check the soleplate for marks.
- Start with the collar and cuffs, then sleeves, back and front panels.
- Work around buttons and avoid dragging over raised details.
- Test a permitted setting on an inconspicuous area and hang the shirt when finished.
A pressing cloth and reverse-side ironing may reduce direct contact, but they do not make excess heat safe. Allow time for the fabric and equipment you are using; a crisp finish is not guaranteed in three minutes.
Read next
Sources: GINETEX textile care symbols.
Explore fit, fabric and care in the Claudio Lugli journal.
A crisp, well-ironed shirt is one of the quickest ways to look sharper instantly — and yet most people were never actually taught how to do it properly. The result? Scorched collars, stubborn creases and ten frustrating minutes that still leave the shirt looking rumpled.
It doesn't have to be that way. Iron a shirt in the right order, with the right heat, and the time needed depends on the fabric, shirt condition and equipment. Here's the exact step-by-step method the professionals use, plus how to keep a premium printed shirt looking flawless for years.
Before you start: the golden rules
Choose the maximum heat and steam setting from the garment’s care label; fibre names alone are not a safe guide for finishes, trims or mixed fabrics. Where the care label permits water and steam, slight dampness can help with pressing; and always work on a clean, well-padded board. Use water or steam only where the label allows it; some garments need dry pressing or specialist care.
Step 1: The collar
Always start with the collar. Unfold it flat and iron the underside first, working from the points inward to stop creases bunching at the tips. Then flip and press the top side. Don't crease it now — leave it flat, and the natural roll will form when you wear it.
Step 2: The cuffs
Unbutton the cuffs and lay them flat, inside first. Iron around the buttons, never straight over them. Press the inside, then flip and do the outside. Sharp cuffs and a sharp collar are what people notice first, so take your time here.
Step 3: The sleeves
Lay one sleeve flat, seam to seam, so it forms a smooth rectangle — line up the seam and smooth out any wrinkles before the iron touches it, because a misplaced crease here is hard to undo. Iron from the shoulder down to the cuff, then flip and repeat. If you prefer no sharp crease down the sleeve, use a sleeve roll or press gently along the top only.
Step 4: The body
Drape the shirt over the board and iron the large panels last. Start with the back, sliding the shirt around the board as you go, then do each front panel. Iron carefully around buttons and, on a printed shirt, use the care label’s permitted heat and steam settings, working around sensitive details. Hang it up immediately while it's still warm — that's the secret to a finish that lasts all day.
How to iron a printed shirt without ruining the design
Bold prints deserve a little extra care. Turn the shirt inside out and iron on the reverse whenever you can — it reduces direct contact with the printed face, but the care label’s heat and steam limits still apply. If you must iron the front, place a thin cotton cloth or tea towel between the iron and the fabric, and use only the heat and steam treatment permitted by the garment label. A garment steamer is an option only when the garment’s care instructions permit it; test an inconspicuous area and avoid unsuitable trims. Suitable care can reduce avoidable wear, but it does not guarantee a brand-new appearance for a fixed period.
Frequently asked questions
What order should you iron a shirt in?
Collar first, then cuffs, then sleeves, and finish with the body. Working from the small, detailed parts to the large panels stops you re-creasing bits you've already done.
Should you iron a shirt wet or dry?
Slight dampness can help when the care label permits that treatment. Do not mist or steam a garment whose instructions exclude it.
How do you iron a shirt without an iron?
Hang it in a steamy bathroom, use a garment steamer, or gently smooth a washable shirt while damp when its label permits that treatment. None are as crisp as ironing, but they'll rescue you in a hurry.
The easiest shirt to iron is a well-made one
Here's something worth knowing: crease behaviour depends on the actual fibre mix, weave, finish and how the garment is packed or worn. Choose the fabric and care requirements that suit your routine rather than assuming a higher price means less ironing.
Explore our men's printed shirts and long-sleeve shirts — designed in London on premium fabric that holds its shape, in sizes S to 6XL. Look sharp with less effort.